
Many teams are now using Notion as a central hub for gathering content and data. It’s a powerful content management tool, and offers great collaboration features. However, what if we need our Notion content in Figma? What if we need this content in our designs?
Whether it's to create more accurate prototypes, or for the final designs themselves, designing with real data can have huge benefits for teams. And now, with the help of data.to.design, you can get your Notion content right in Figma.
Here are the essential steps to import data from Notion to Figma:
- Create a Notion database
- Export your Notion database
- Upload your file to data.to.design
- Map the data to your Figma designs
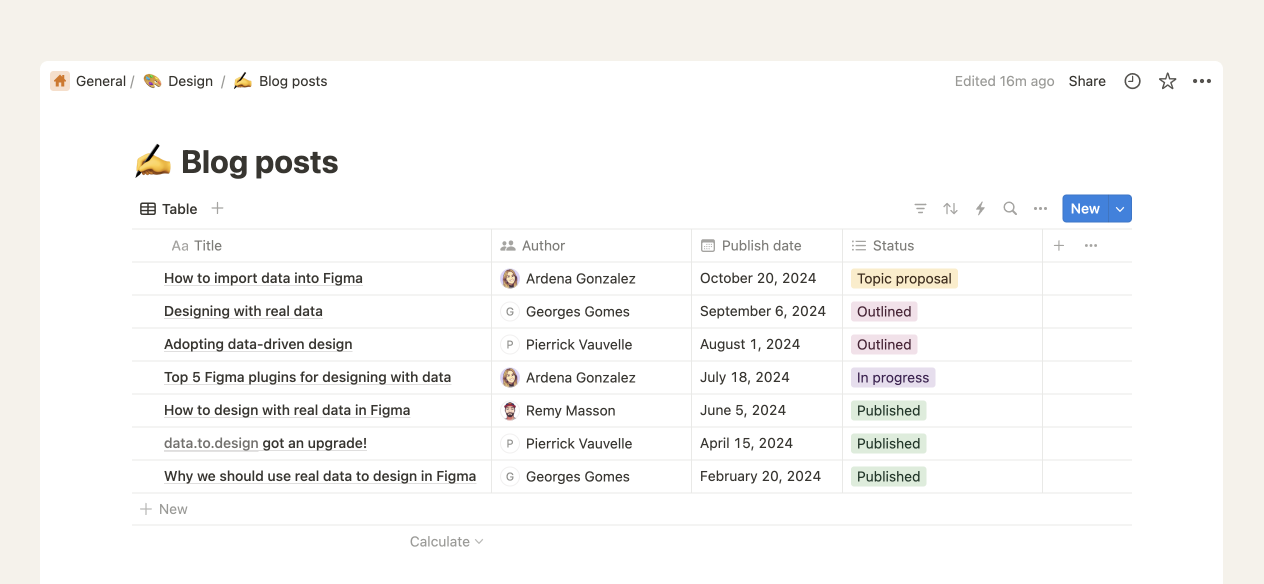
1. Create a Notion database
Before importing your data into Figma, the first requirement is to organize and gather all this data in a Notion database. This could be anything from product lists, user information or any data relevant to your project. Check out this guide if you need help creating a Notion database.
ℹ️ To import data from Notion to Figma, all content must be in a database/table format.
2. Export your Notion database
Before exporting your Notion database, make sure you are in table view.
At the very top-right corner of the page you should see three dots. Open this drop-down menu and select Export. In the settings window, set the “Export format” to Markdown & CSV and “Include content” to Everything. Click Export and your file will immediately start downloading.
3. Upload your file to data.to.design
Next, open Figma and run the data.to.design plugin. To upload a new dataset you’ll first need to sign up or log in, so the plugin can link your datasets to your Figma user and the data.to.design web dashboard. Then, click Add new dataset and follow the steps to import a Notion database. You will be automatically redirected to the data.to.design web app where you can complete the upload of your Notion file.
ℹ️ Once your file has finished uploading to the web app, make sure to click Publish to plugin so all your data is automatically available in Figma.
4. Map the data to your Figma designs
Once you’ve finished uploading and publishing your Notion dataset, go back to the Figma plugin. You should now see the Notion data in your list of datasets on the main screen.
The final step is to map this data to specific elements in your Figma designs. Create a new mapping with your dataset source(s) and the target Figma layer(s). Then, with the relevant layers selected, apply the data you want. This will automatically fill your layers with the right information and create a link between the data and your design.
You can also do this for multiple layers at a time, and for Figma components! This way, every time you use an instance of this component, it will be automatically populated with the right data from the data source you selected.
Importing content from Notion to Figma with data.to.design can greatly speed up the process of data-driven design. By following these steps—gathering your data, adding your Notion database as a dataset and mapping the data—you can quickly make your Figma designs more accurate and relevant.
For a more detailed guide on how to make the most of data.to.design, check out our Help Center. Now, import your first Notion database into Figma and tell us what you think!