
As designers, we often need to incorporate real, dynamic data into projects, whether it’s for more accurate prototypes, demo presentations or even final designs. You can now seamlessly integrate your Google Sheets into Figma thanks to the data.to.design plugin, making data-driven design easier than ever. This post will guide you through each of the following steps needed to import a Google Sheet into Figma, so you can map real company data to your design elements:
- Gather your data in a Google Sheet
- Run the data.to.design Figma plugin
- Add your Google Sheet dataset to the plugin
- Map the data to your Figma designs
1. Gather your data in a Google Sheet
Before importing your data into Figma, the first step is to organize and gather all the data you need in a Google Sheet. This could include anything from product lists, user information or any dataset relevant to your project. Ensure that your data is well-structured with clear headers and neatly arranged rows and columns. Properly organizing your data at this stage will make the following steps smoother and more efficient. If you need help organizing your Google Sheet for the import, take a look at this template.
2. Run the data.to.design Figma plugin
Once your data is ready in Google Sheets, the next step is to open Figma and run the data.to.design plugin. If you haven’t already, sign up or log in to the plugin. You can use Google, Figma or an email address to sign up. This is required so the plugin can associate your datasets to your Figma user and the data.to.design web dashboard.
3. Add your Google Sheet dataset to the plugin
Once in the Data Explorer tab, click on Add new dataset and select the Google Sheets option. You’ll then be asked for the URL to your spreadsheet. Make sure your Google Sheet is shared with the appropriate permissions to allow the plugin to access it. The import of your Google Sheet should only take a few seconds and, once complete, you’ll have successfully added the dataset. The plugin will then fetch the data, displaying all records in data.to.design, ready for mapping to your designs.
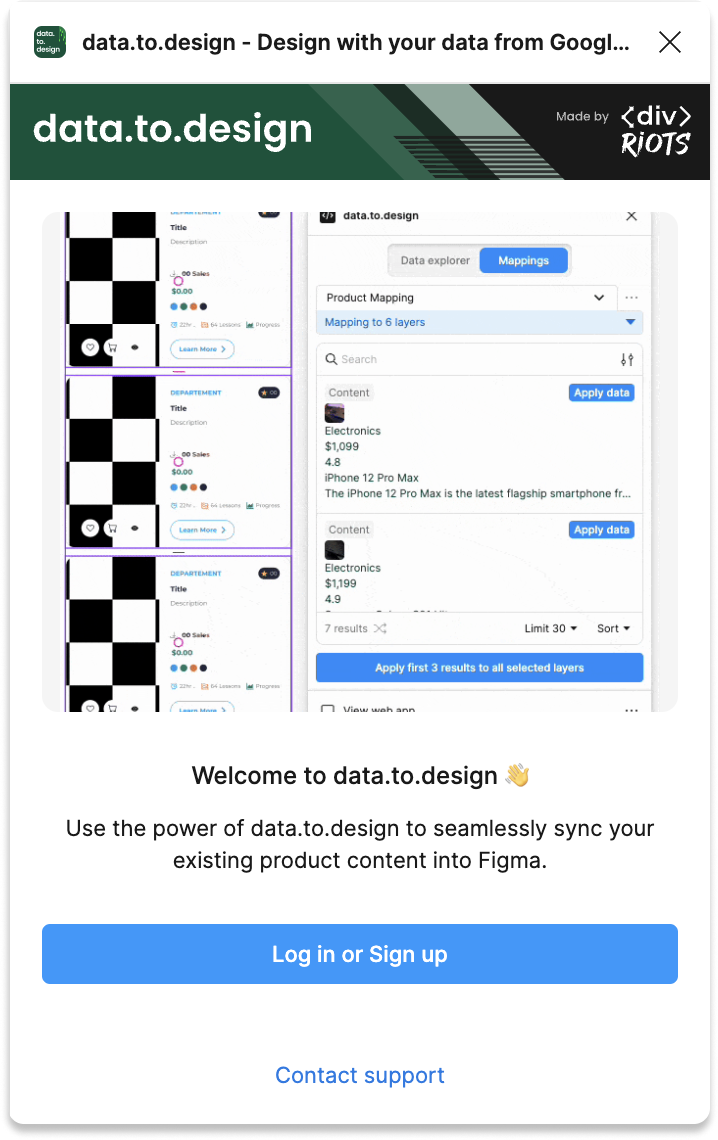
4. Map the data to your Figma designs
With your data displayed in the plugin, the final step is to map this data to specific elements in your Figma designs. With any layer selected, hover over the piece of data you want to insert and click Apply to layer. This will automatically fill your layer with the right information and create a link between the data and your design.
You can also apply your data to Figma components! For example, say you’re designing an album card for your music streaming design, like in the video below… Select a layer in that component, then choose which data entry you want to map to it. This way, when you use dozens of instances of this component, they will all be automatically populated with the right data from the data source you selected.
Integrating Google Sheets with Figma through the data.to.design plugin streamlines the process of data-driven design. By following these steps—gathering your data, running the plugin, adding your Google Sheet as a dataset and mapping the data—you can quickly make your Figma designs more accurate with relevant, up-to-date information.
For a more detailed guide on how to make the most of data.to.design, check out our Help Center. Now, import your first Google Sheet into Figma and tell us what you think!